Pattern Making Pt 2: "Making"

In Part 1, I mentioned that I made a tool that makes designing patterns easier. It's very much in alpha, but if you want to check it out, you don't need to listen to me blab, you can just click the button below (https://patterns.ifwego.co).
I'll do a quick walkthrough of the tool and then a technical deep dive at the end.
Previewing Patterns
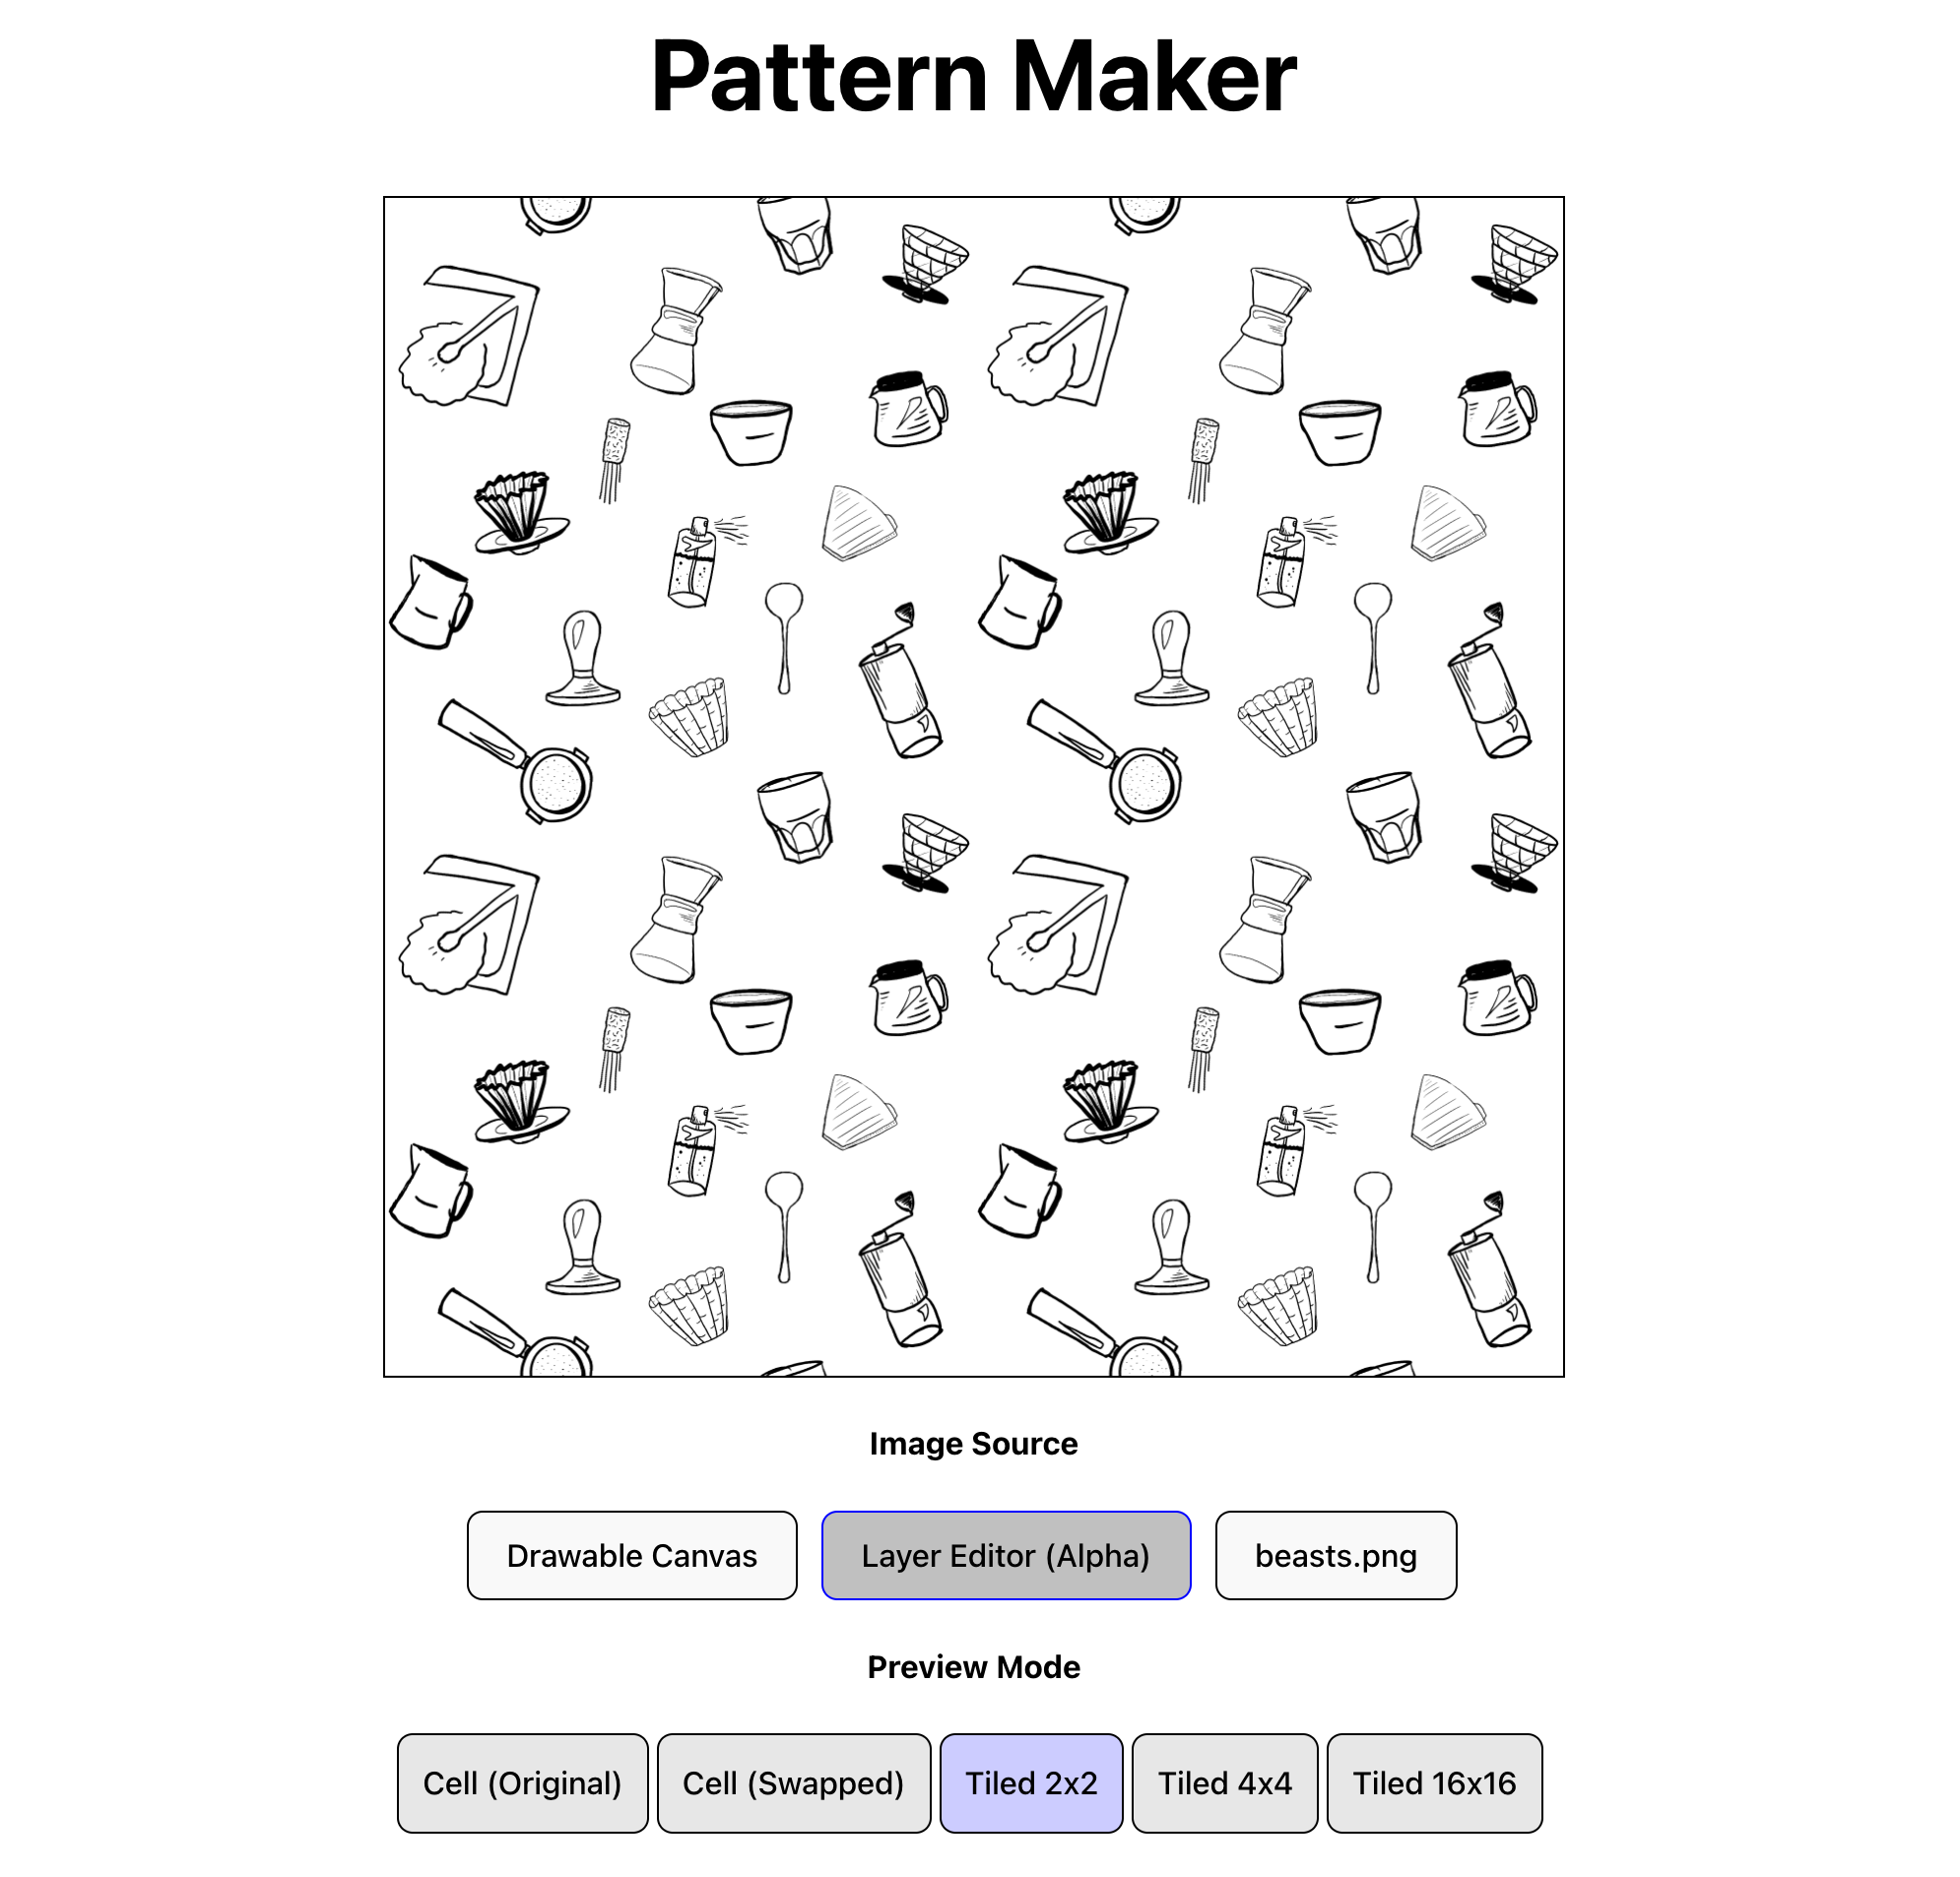
The tool at the top of the page is for previewing patterns. Given a pattern cell, you can preview the cell swapped or tiled in 2x2, 4x4, and 16x16 arrangements. You can get a pattern cell in one of four ways:
- The Drawable Canvas (
✍️ Drawtab): An in-browser drawing canvas that supports mouse, pen, and touch. - The Layer Editor (
🖼️ [⍺] Layer Editortab): An editor for arranging imported images to create a pattern. - An Image File (
📁 Import Filetab): Select an image file from your device. - The Gallery (
🗺️ Gallerytab): Select from a set of example patterns that illustrate different ways to create patterns.
Let's start with...
The Gallery (Link↗)
Here you can find some patterns created in the tool as well as other example and utility patterns.
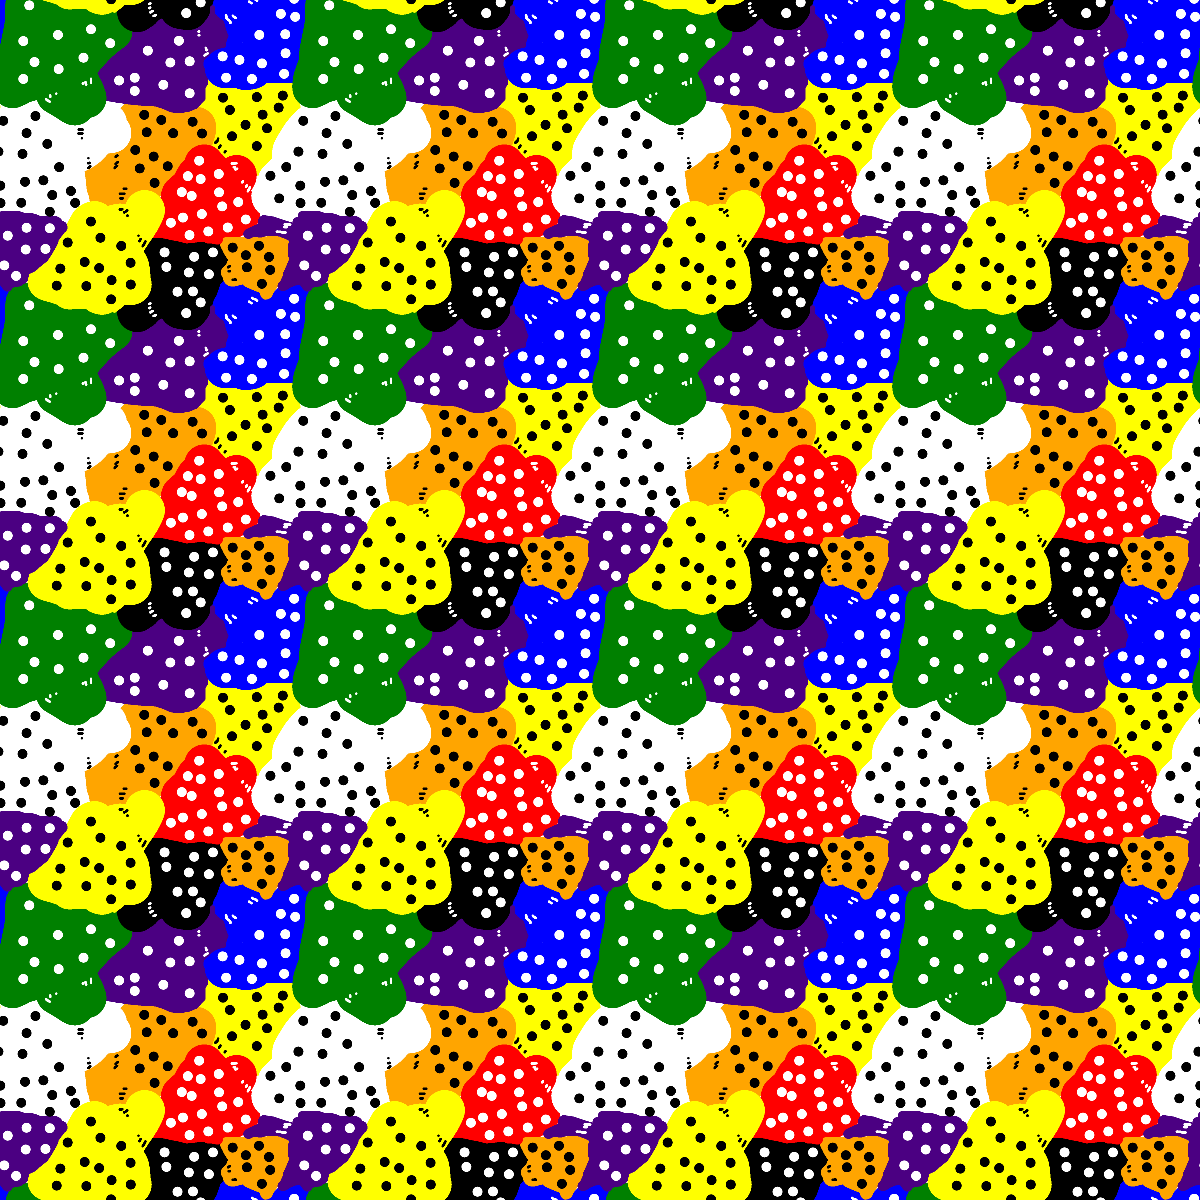
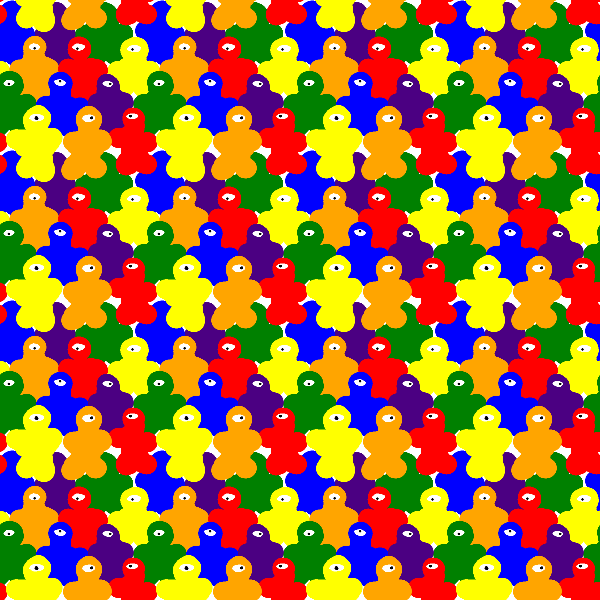
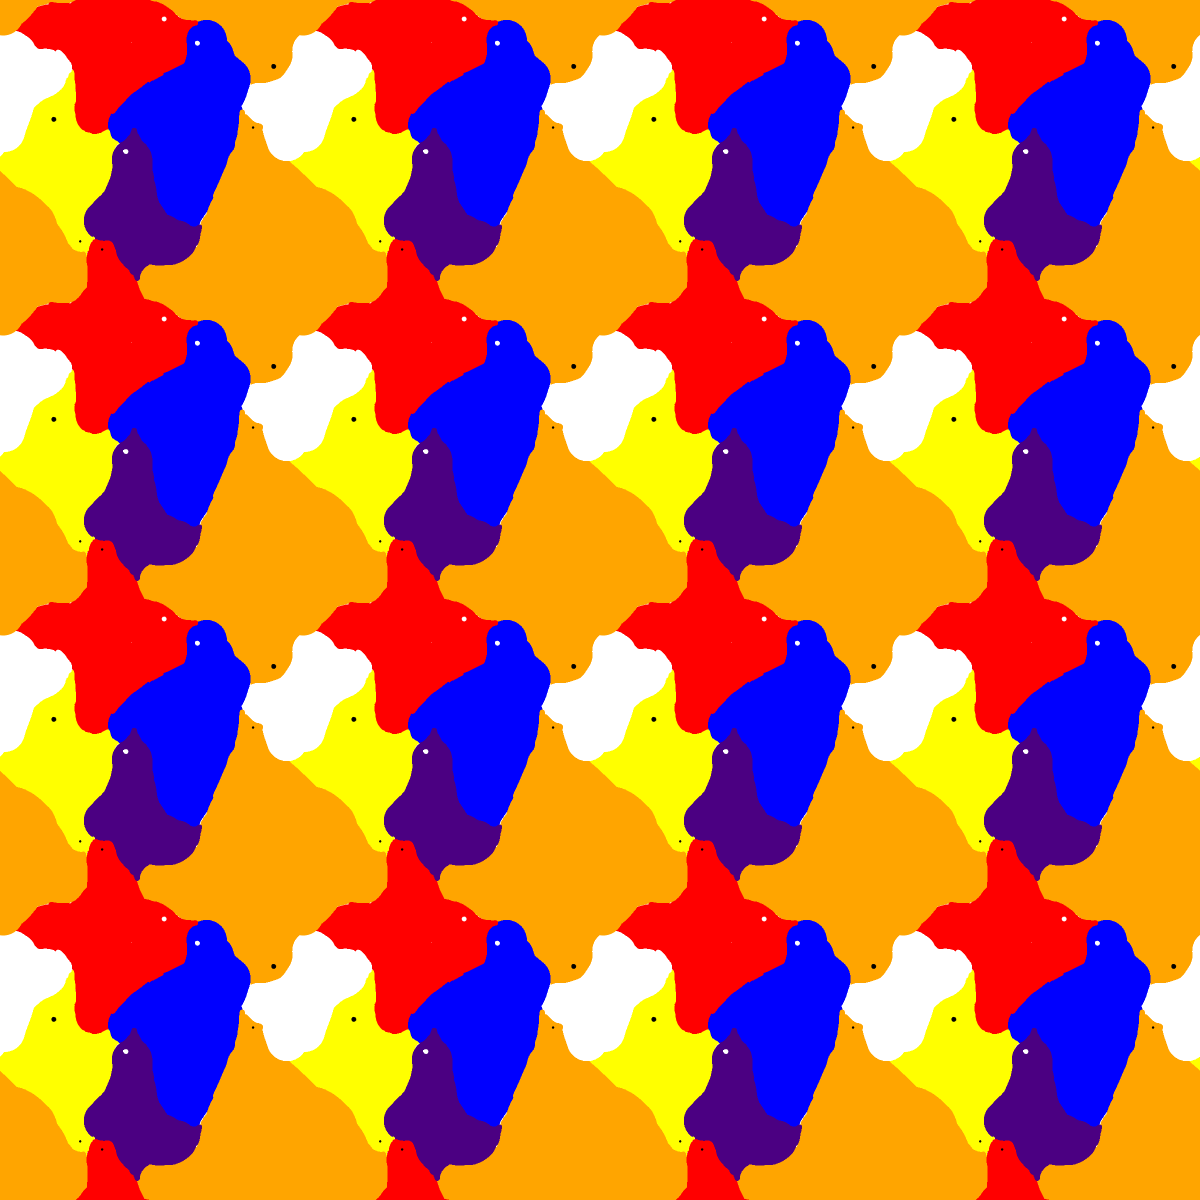
All of the following were made using the drawable canvas:
There's more information about each pattern in the gallery.
Drawable Canvas
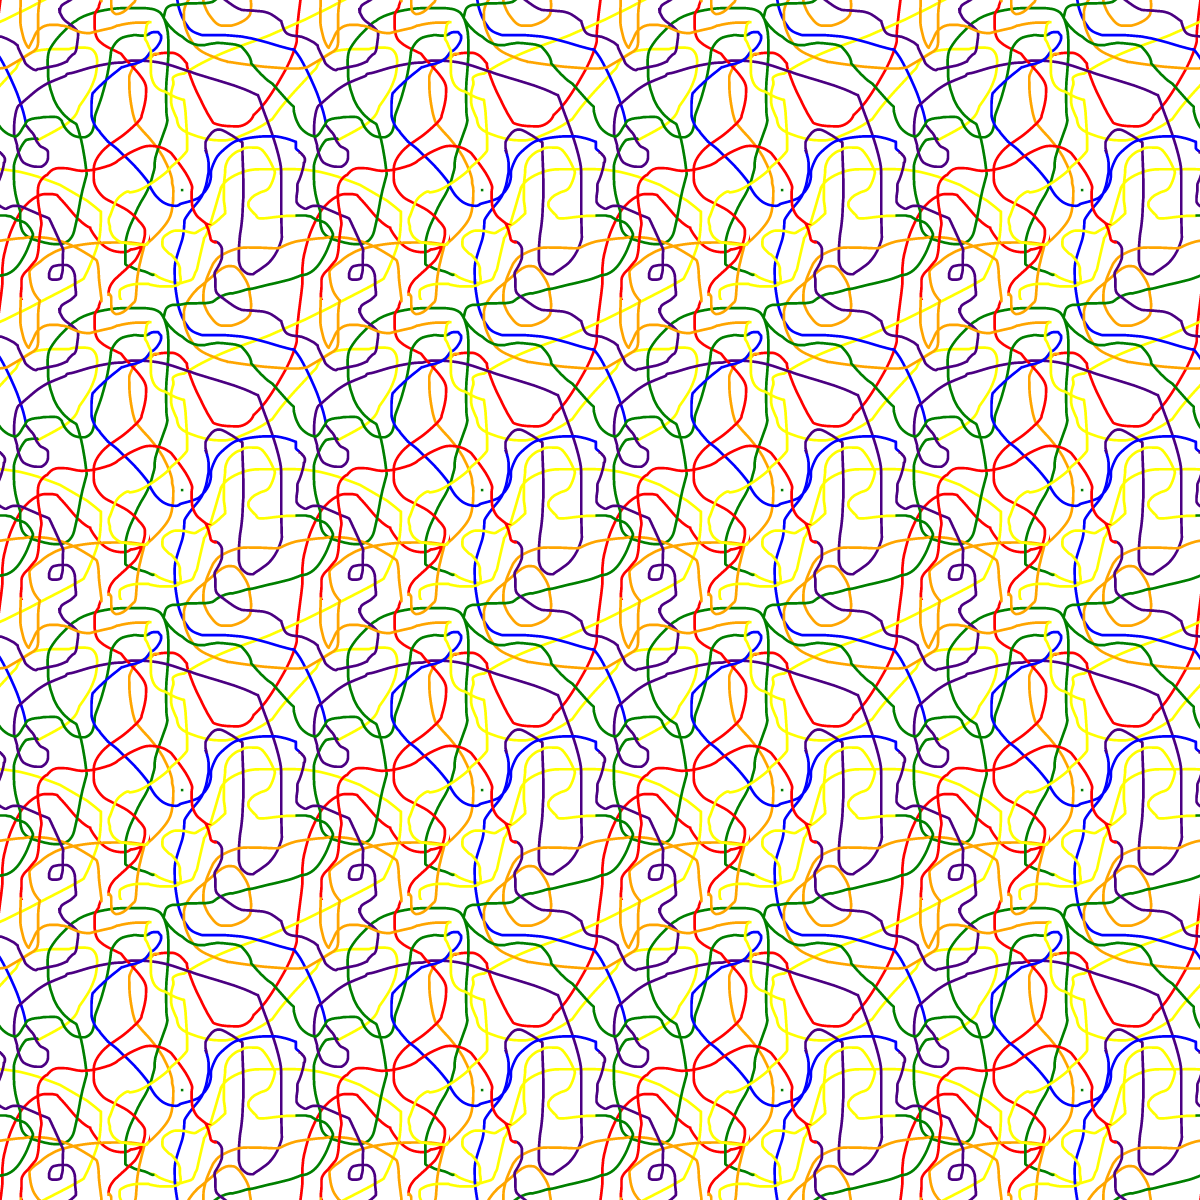
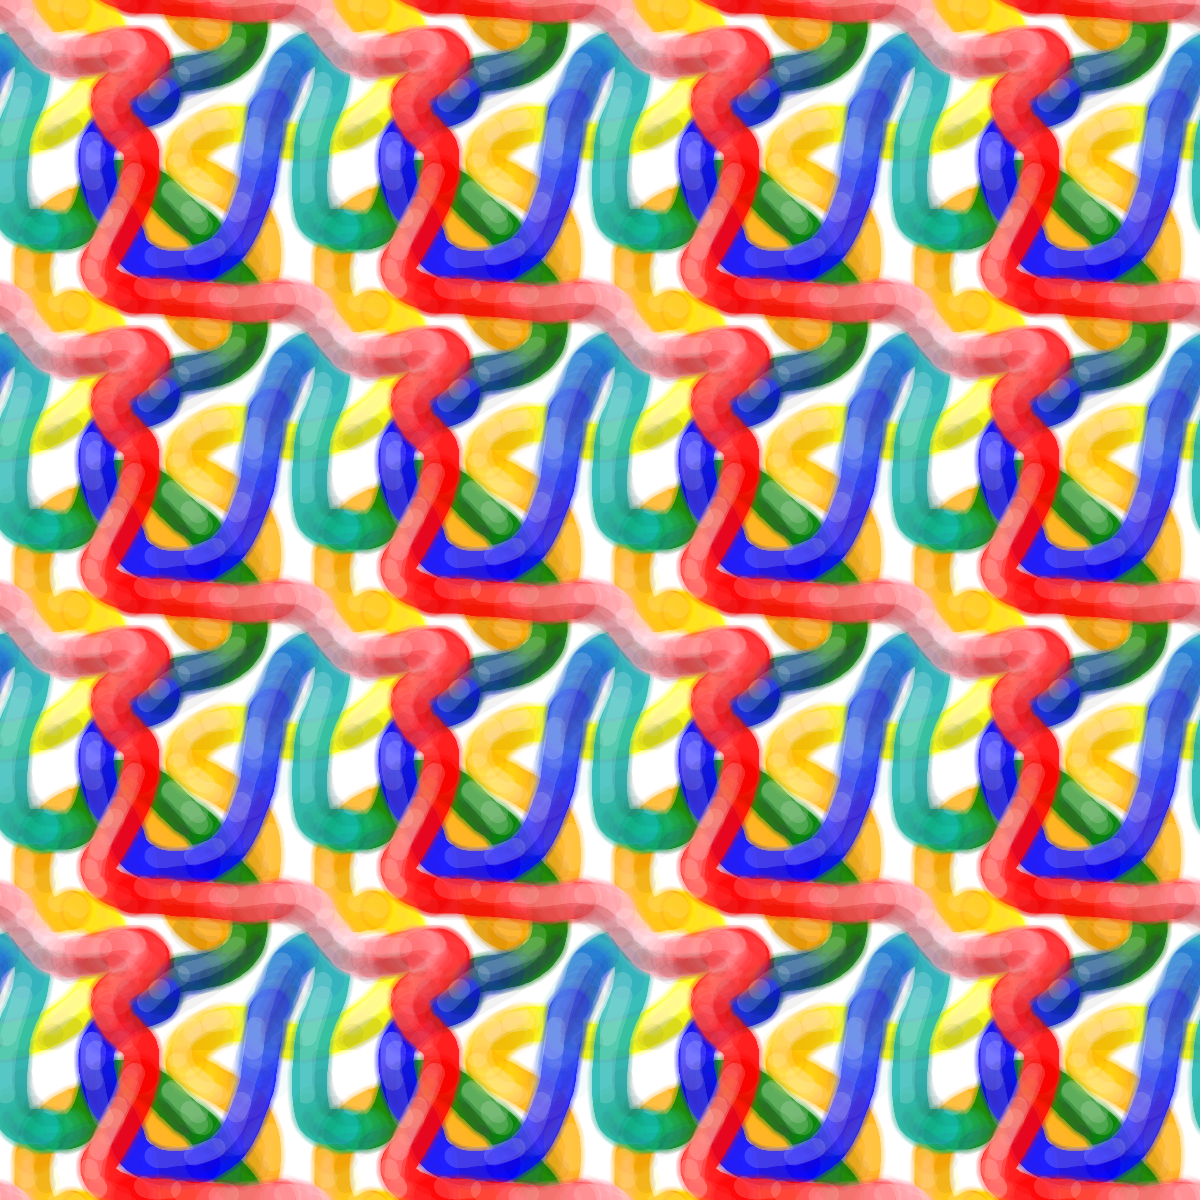
I made a small drawing tool, originally just as a break from doing math on the other editor (the layer editor), but it ended up being a lot of fun to play with, so I kept fleshing it out until it turned into the state it is today. Here's a video of me using several of the editing tools to create a tubular pattern.
While the editor is basic in many ways (it has the performance of an online drawing game and evokes MS Paint), it does support a few cool features:
- The main feature: moving around the canvas like it's an infinite pattern, or swapping the quadrants with a single button press.
- Blurred brushes and opacity, allowing for blending in darker/lighter shades.
- Undo/redo
- Restricting drawing to pen-only (useful for drawing on tablets)
It's not the prettiest interface right now (lots of glued-on features), but it's enough to play with. If you're unsure what any of the buttons do, I documented them all in the "Instructions" tab (https://patterns.ifwego.co/#instructions).
If you wanna play with it, here are my recommendations:
- You're not limited to just using the "Swap" button to navigate around the infinite canvas. There are buttons with arrows on them that can pan you around as well. This makes it easier to fill any gaps in your design, not just those around the edges.
- To draw a continuous line that wraps around the edges of the pattern, draw close to the edge, but not all the way, then hit "Swap" and draw in the connection between the two ends. With a bit of blending, you can make it look continuous. Alternatively, if you can draw the line or shape in smaller segments, you can draw a bit, pan the canvas with the arrow buttons, and then keep drawing.
- The editor doesn't support layers yet, so if you plan to apply shading to an object that will be underneath another one, you may want to add some shading before you start drawing the next element.
- If you want some inspiration, try doodling some simple shapes in different colors. Basic things like stars, diamonds, stick figures and the like can take on a certain charm when tiled.
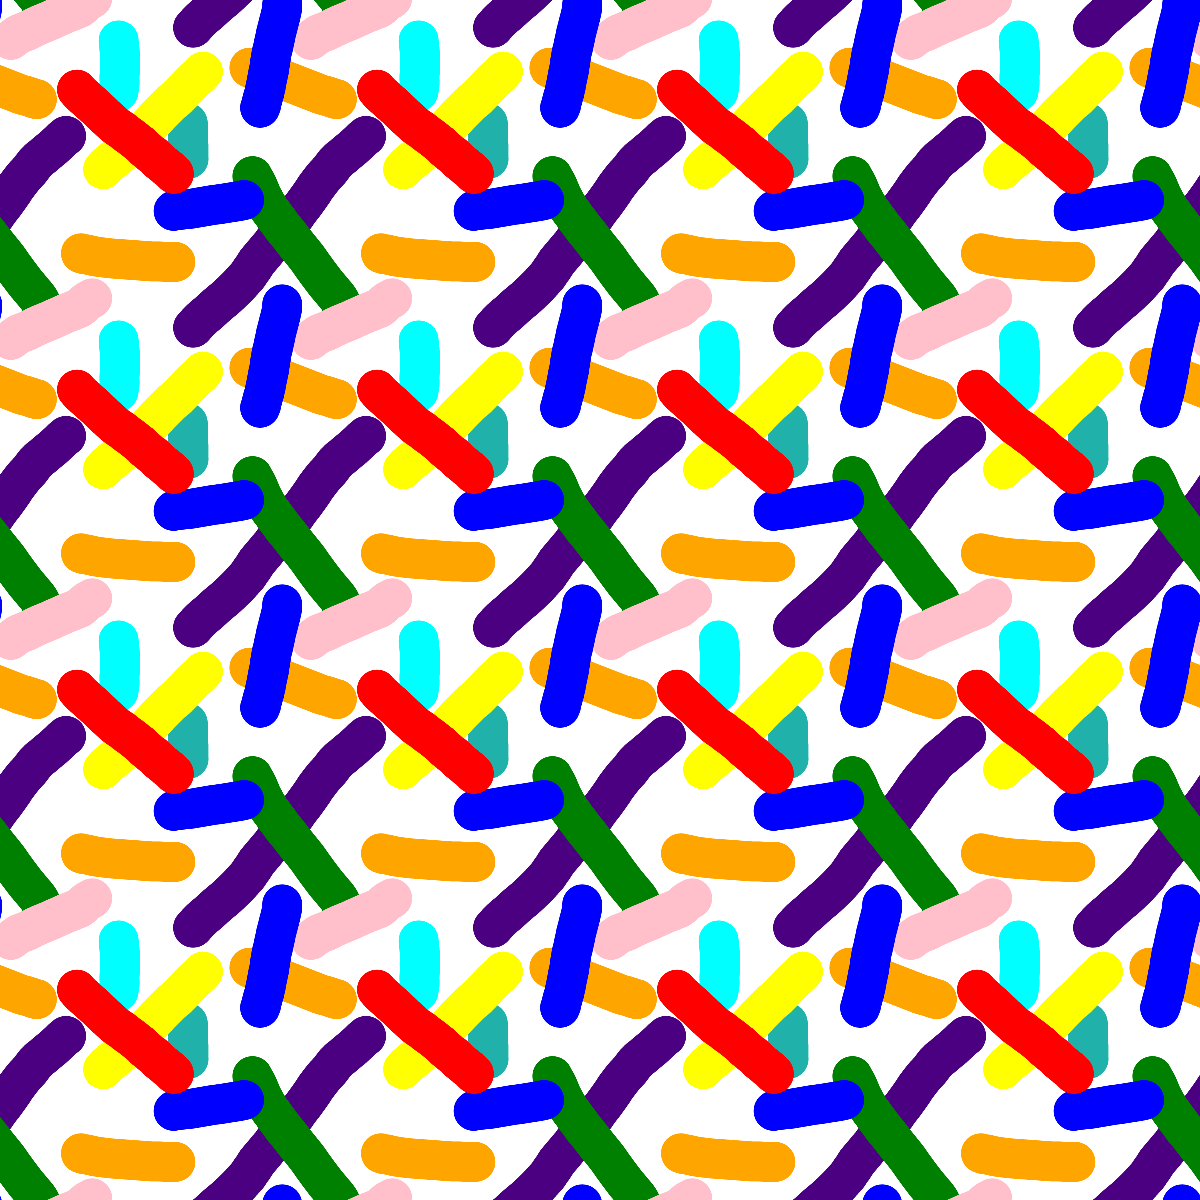
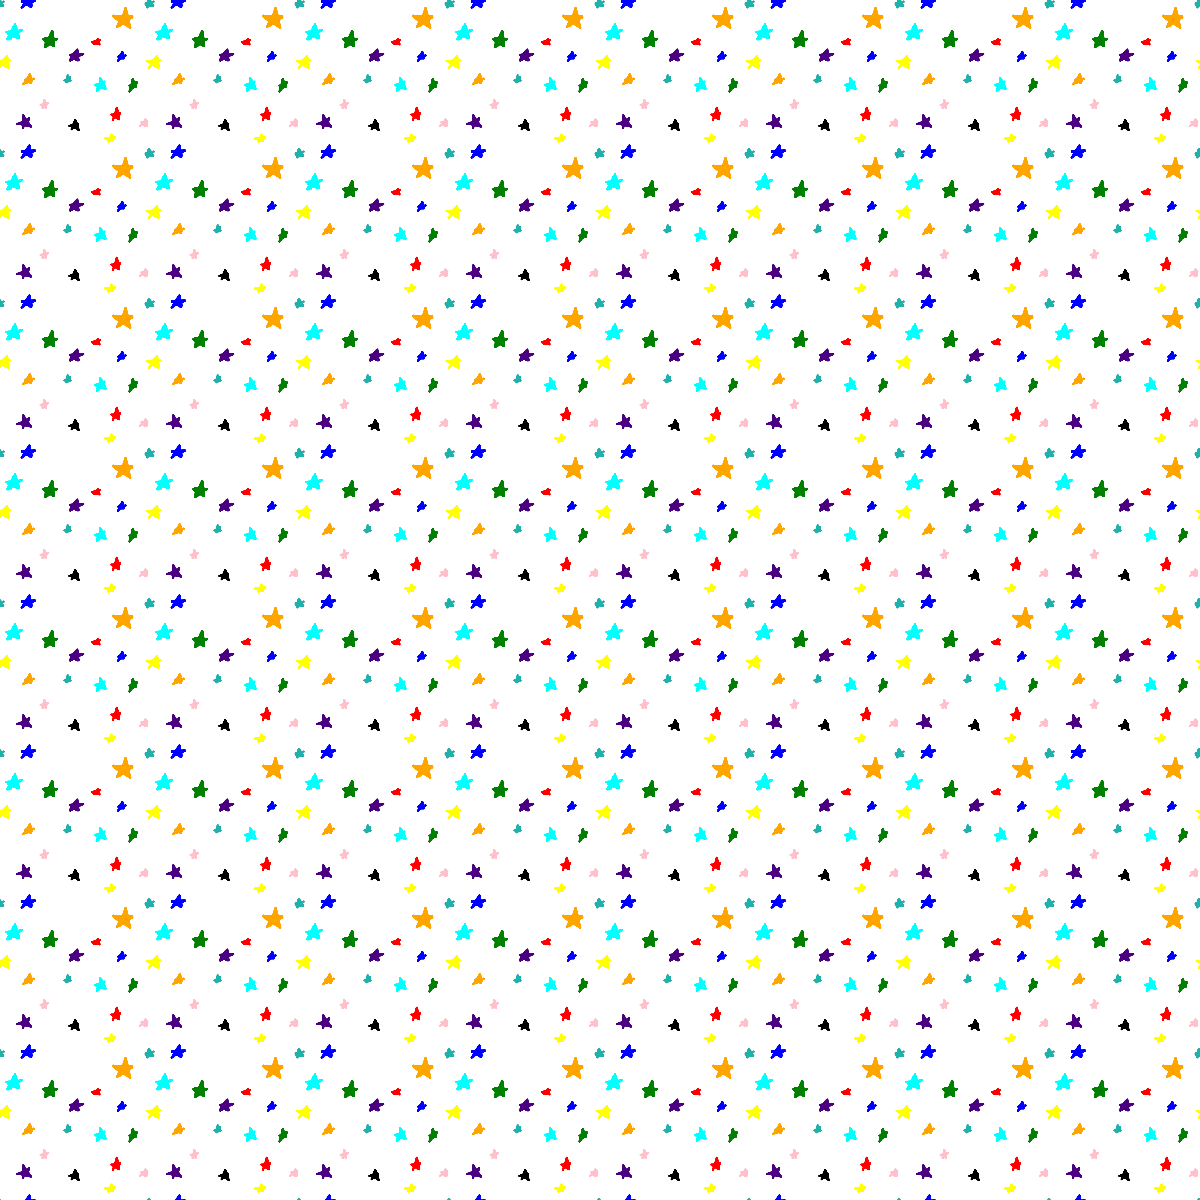
Here are two I made with just lines and stars.
Layer Editor

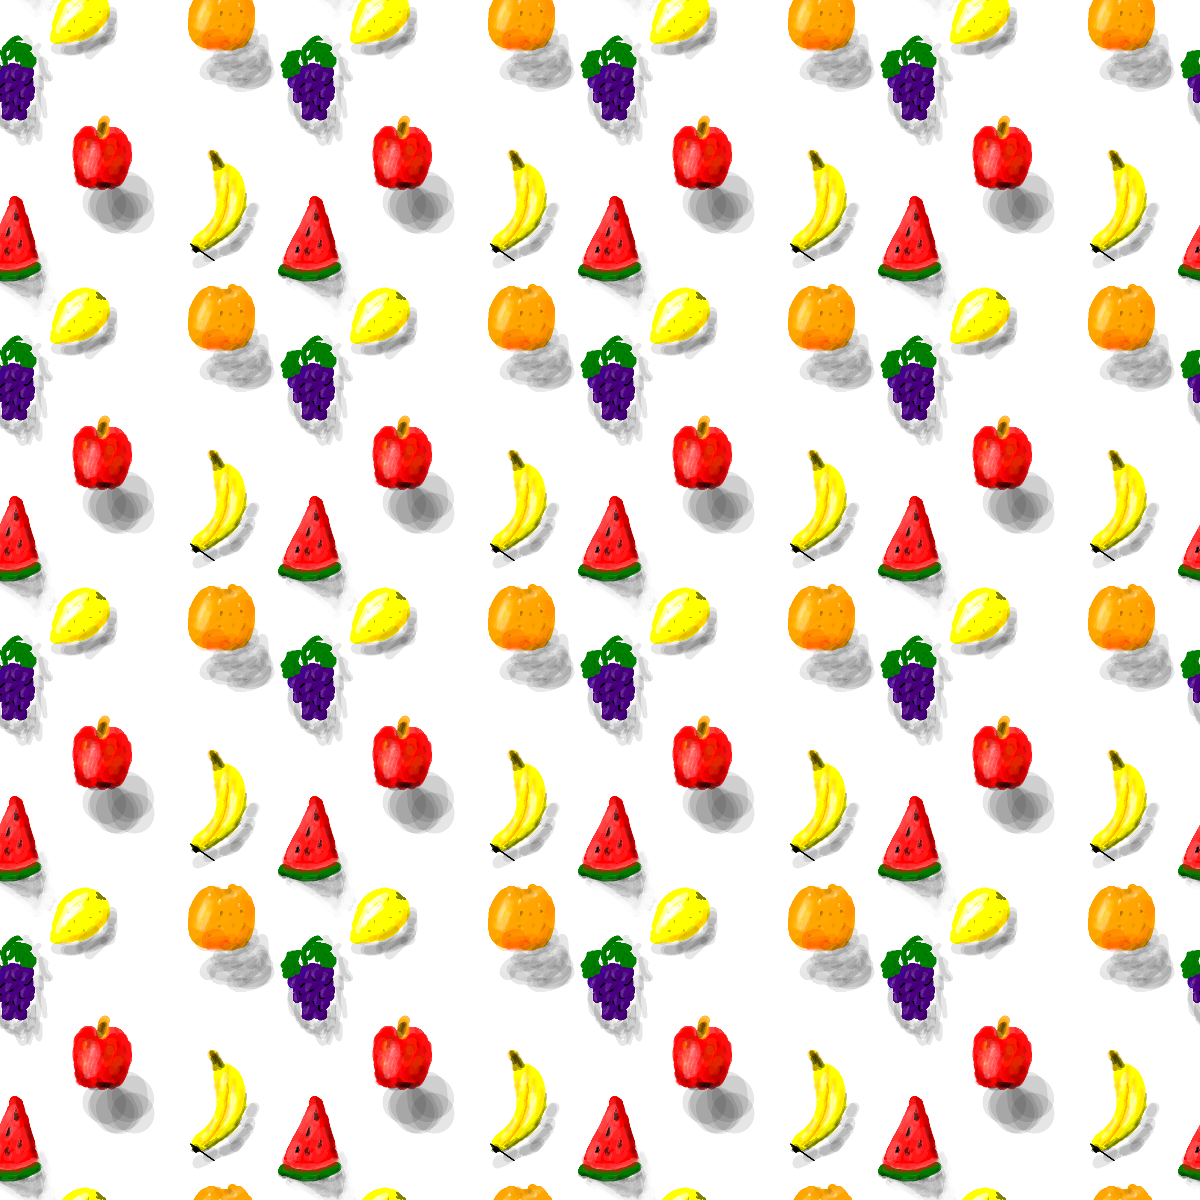
This editor is in an earlier stage than the drawable canvas, but I anticipate that this will be the main way I use the tool in the long run. The idea is that you probably want to draw the elements of your pattern in whatever drawing software you're most familiar with (for me, that's Procreate on iPad) and then arrange them in this tool to create your final pattern. Like the drawable canvas, the main feature of this tool is previewing how your pattern will look when tiled. If you move an element to the edge of the canvas, it'll show it wrapping around.
You can also hit the "Swap Quadrants" button to move the elements around. This works at the object level, not the pixel level, so you can continue moving, scaling, and rotating each element after you hit "Swap". That feature alone was my greatest motivation to build the tool. Every time I edited a pattern in Procreate or Affinity Photo I wished they would let me edit this way.
Here's a pattern I made using elements drawn in Procreate and arranged using the layer editor tool, all on my iPad:
I haven't written up instructions for how to use this tool like I did for the drawable canvas, but here are some key pointers:
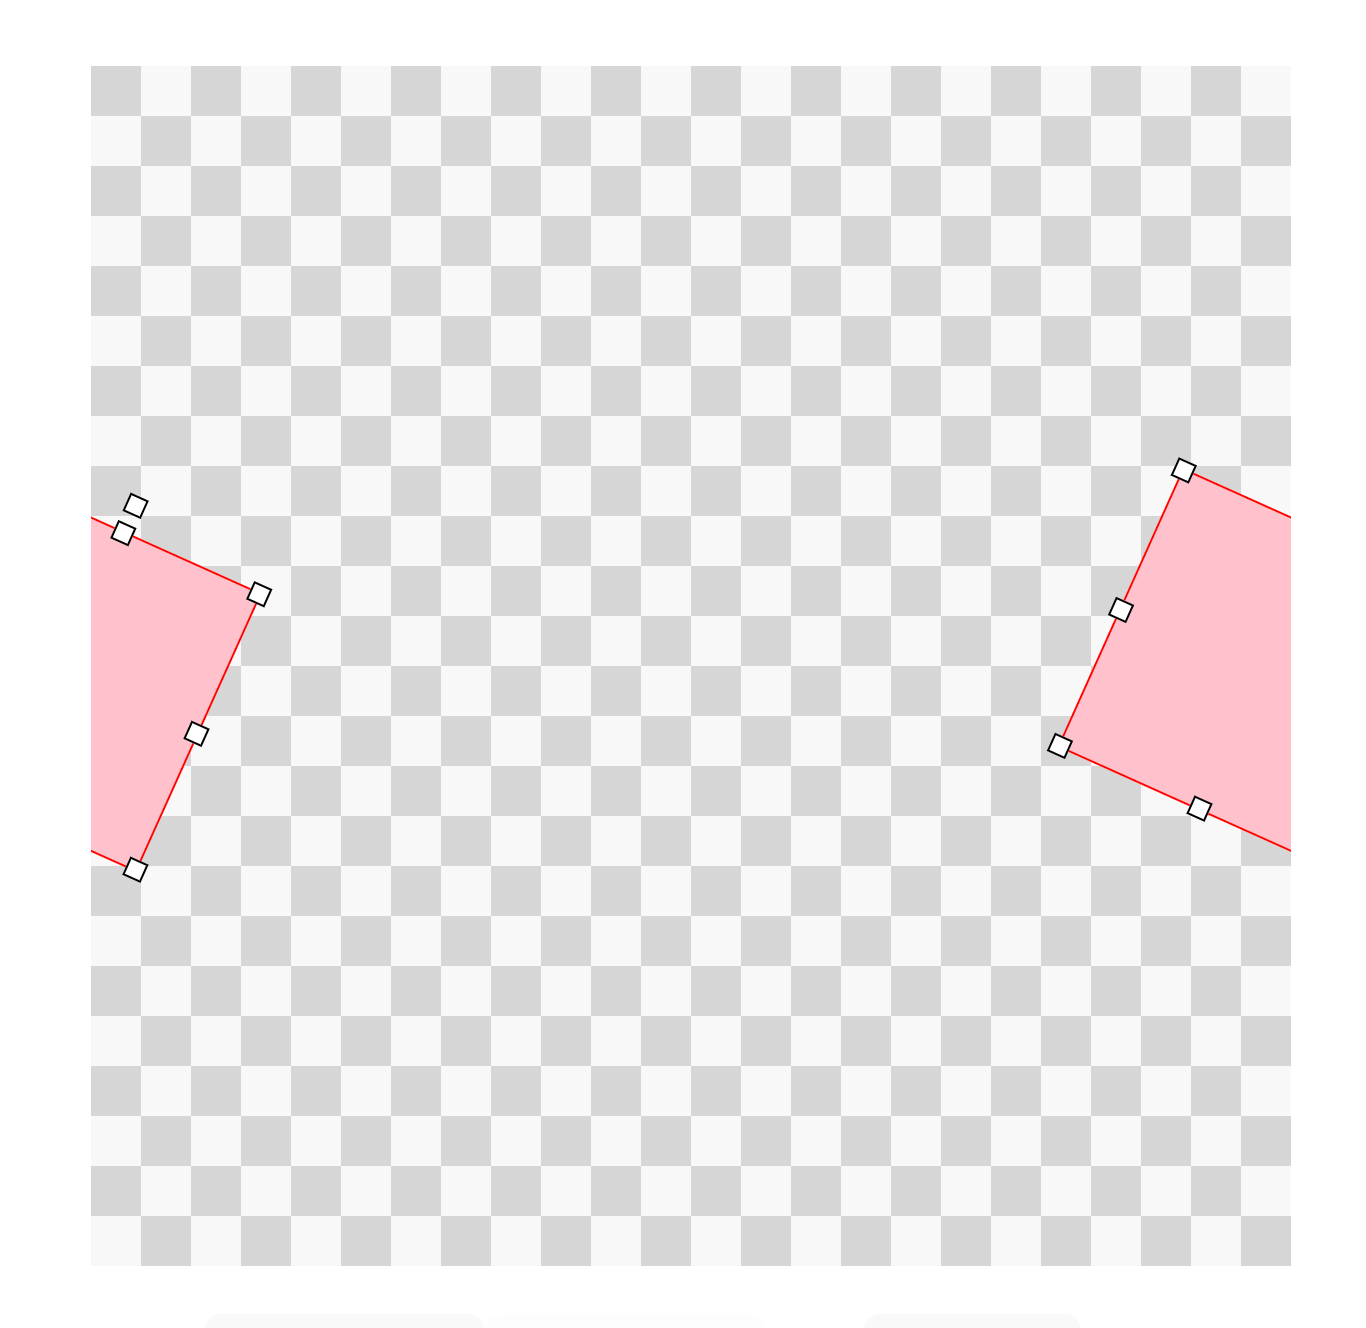
- The canvas starts with a red square. Feel free to play with it to get a feel for the manipulation handles.
- You can delete an element by pressing the
Deletekey on your keyboard, or by selecting an item and then pressing the "Delete" button in the UI. - You can scale an item symmetrically by holding
Alt/Optionwhile dragging a resize handle. - You can add colored frames by checking the "Include Background" checkbox and clicking "Add Frame". You can also include a background color when you add an image.
You also can't right-click "Save As" the contents of the editor. You have to click the "Download" button or right-click the image in the "Image Preview" dropdown to save it as an image.
<🤓> This is because the layer editor uses HTML elements and CSS transforms to render the individual images intead of drawing directly to a <canvas /> element like the drawable canvas and pattern preview do. </🤓>That's all I've got for usage notes. Feel free to play with it if you'd like!
If you don't wanna hear about my technical kvetching, then I'll say goodbye to you here, and leave another link to the tool (https://patterns.ifwego.co):
On with the kvetching!
My Mortal Enemy: Shapes and Colors
I've never loved geometry. I still remember taking on a photo-rotating task as an intern and handing it back after a day of stumped whiteboarding trying to figure out why my trig was a little off. (...the debugger was also broken and the app took so long to build that you could take a walk while it was building, soooo.....)
Making the resize and rotate handles on the layer editor took a day or two of experimenting to get right.
The first and easiest operation was translation (that is, moving the box around the canvas). This is done with a CSS transform: translate(...) property and some pointer event handlers. Next up was scaling. Scaling is a bit more nuanced because the behavior users expect from a resize handle is a little more complicated than doing a scale(X, Y, Z) transform.
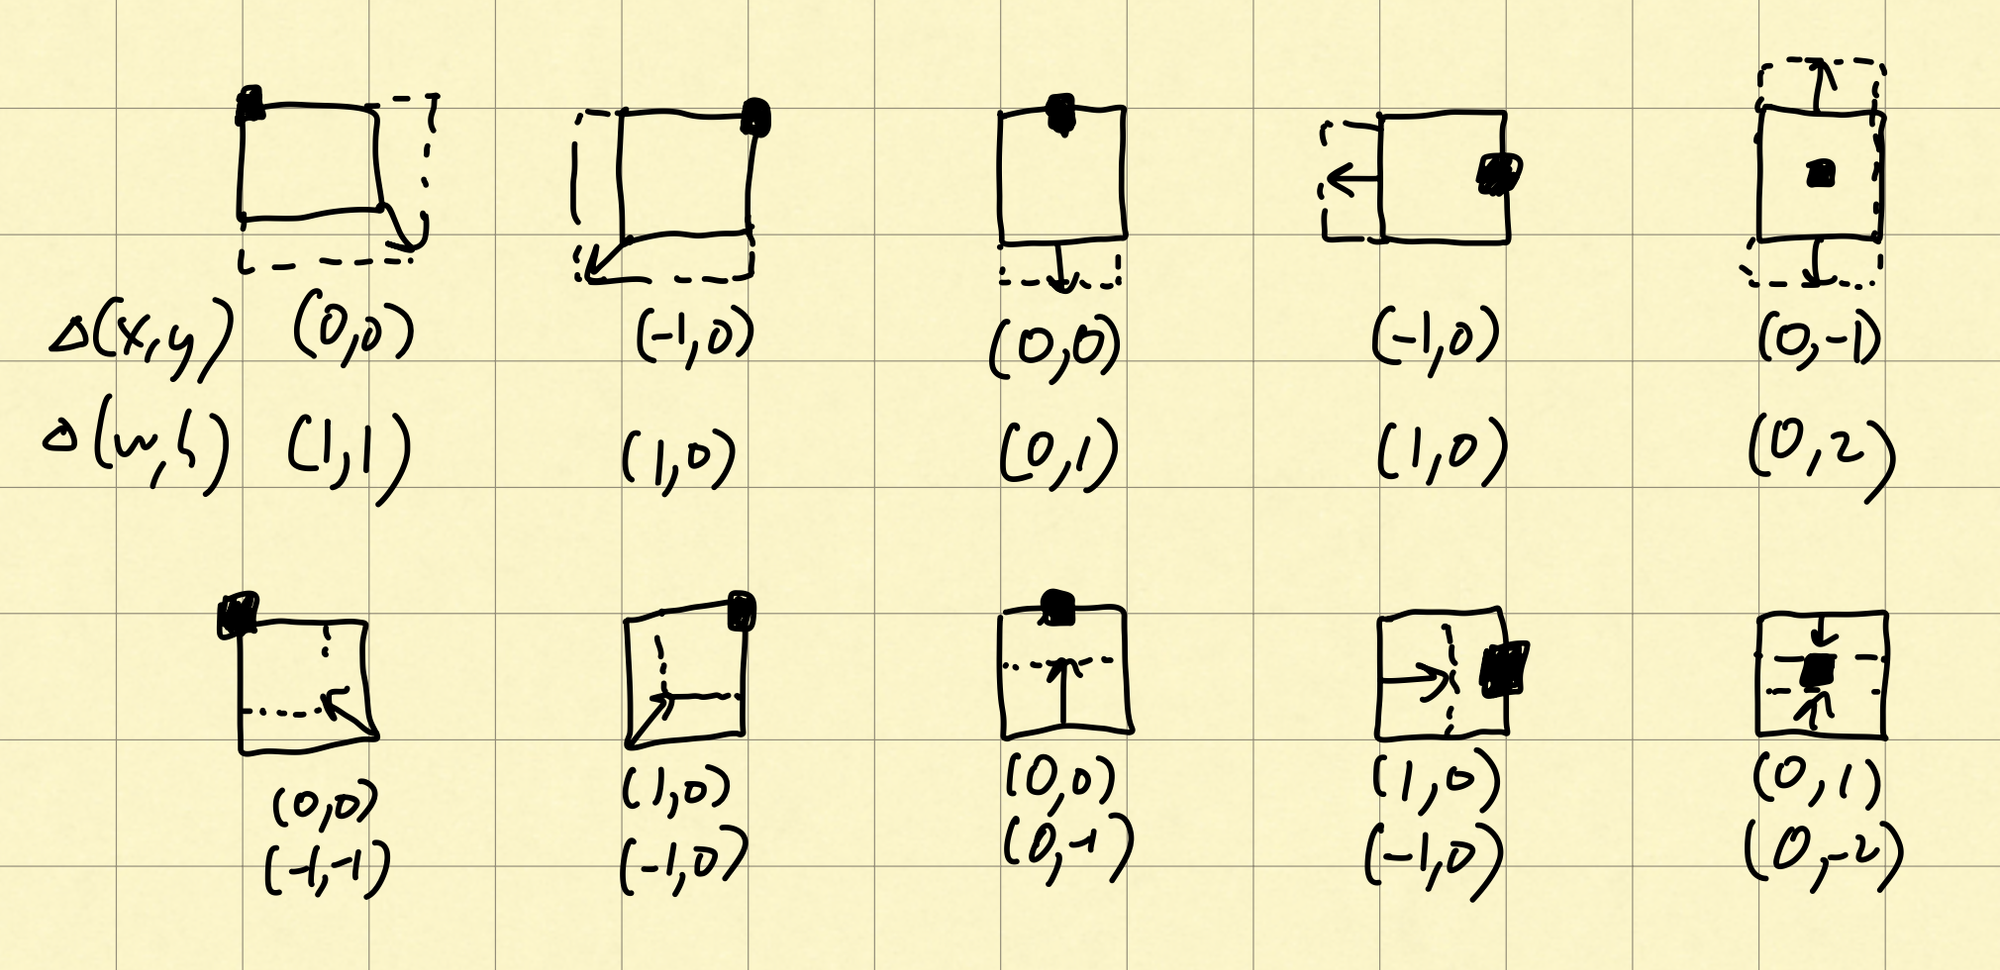
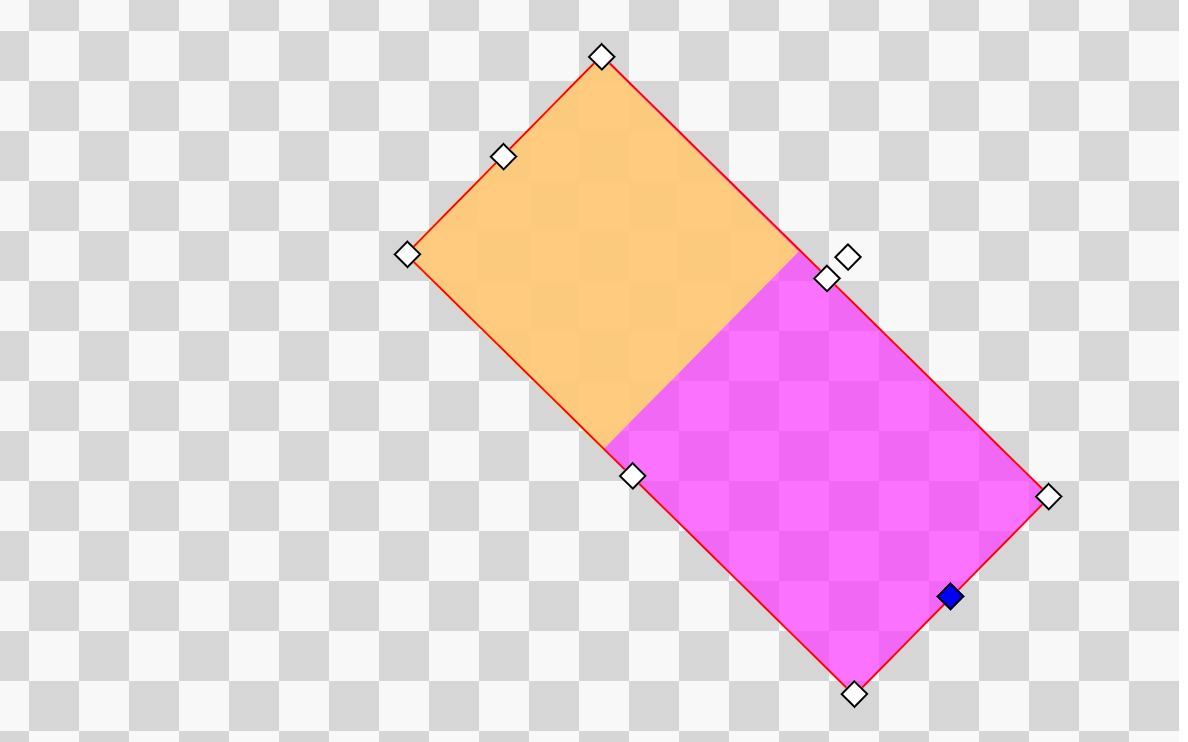
- If the user drags on the right-side handle, it should increase the width of the box while keeping the height constant and the left edge of the box constant.
- If the user drags on the left-side handle though, the origin of the box needs to move to the left to compensate for the increasing width because the user expects the box to be anchored on the right edge.
- If the user drags on one of the corner handles, they expect the box to scale proportionally.
- In all cases, the box should scale such that the anchor the user is dragging stays under their pointer if possible – the pointer could move in the wrong axis or a proportional scaling constraint could prevent the box from reaching the user's pointer.
- If the user holds down
Alt/Option, then the box should scale symmetrically (e.g. twice as much, but also translate negative the amount). - If the user holds down
Shiftwhen dragging a side handle (instead of the corner ones), the box should scale proportionally.
sqrt(2) everywhere.This isn't too hard to do, but it does require managing a few vectors:
- The pointer offset from its starting location.
- The "drag axis" of the handle (e.g. the vector representing the positive direction)
- The "scale axis" of the handle (e.g. the amount to scale the box based on how far the user dragged in the drag axis).
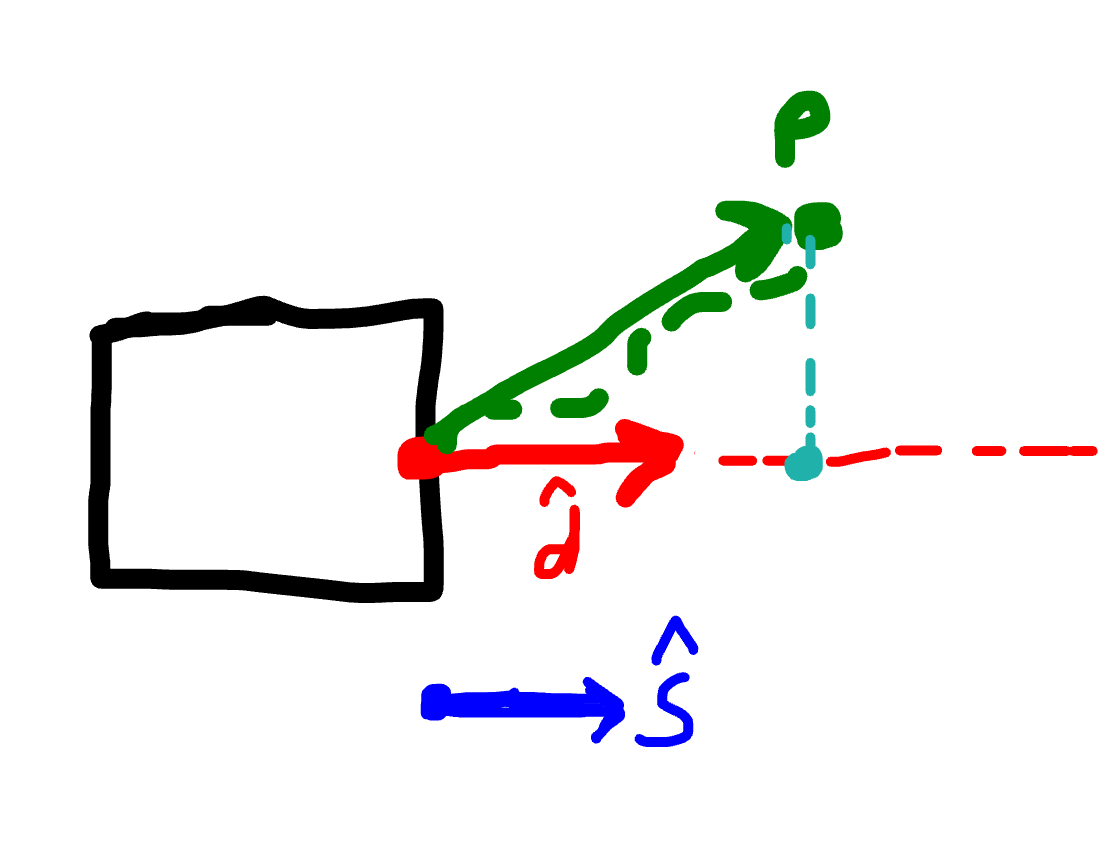
Math time:
p·d, or p_x * d_x + p_y * d_y).2. Multiply by the scale vector to get the delta in width and height.
3. If the drag vector has a negative component, then translate the box back by the same amount as the width or height increased to keep the opposite edge anchored.
So the right, bottom, and bottom-right anchors only have positive drag vectors and don't require a compensating translation (CSS coordinates, like in most graphics systems, have the origin in the top left of the screen or bounding box, and increase in the y direction from top to bottom). All the other anchors require subtracting a delta in width or height when scaling. This works in reverse too: if you're shrinking the box using the left anchor (e.g. by dragging to the right), you'll need to subtract the negative delta width which turns into a positive X translation to ensure that the right edge remains fixed.
Ok, scaling boxes makes sense. Time to enable rotation. CSS transforms can do it using: transform: rotate(...), so it should be easy, right? All you gotta do is find the pivot you're rotating around (by default in CSS, it's the center of the object) and use the inverse trig functions to find the delta in angle when you drag the rotate handle around.
I tried it, and after a bit of work to use the right inverse trig functions, rotation was working. Nice! Then I tried scaling after rotating and the boxes would translate around when scaling if they were rotated. Wups. What's up with that?
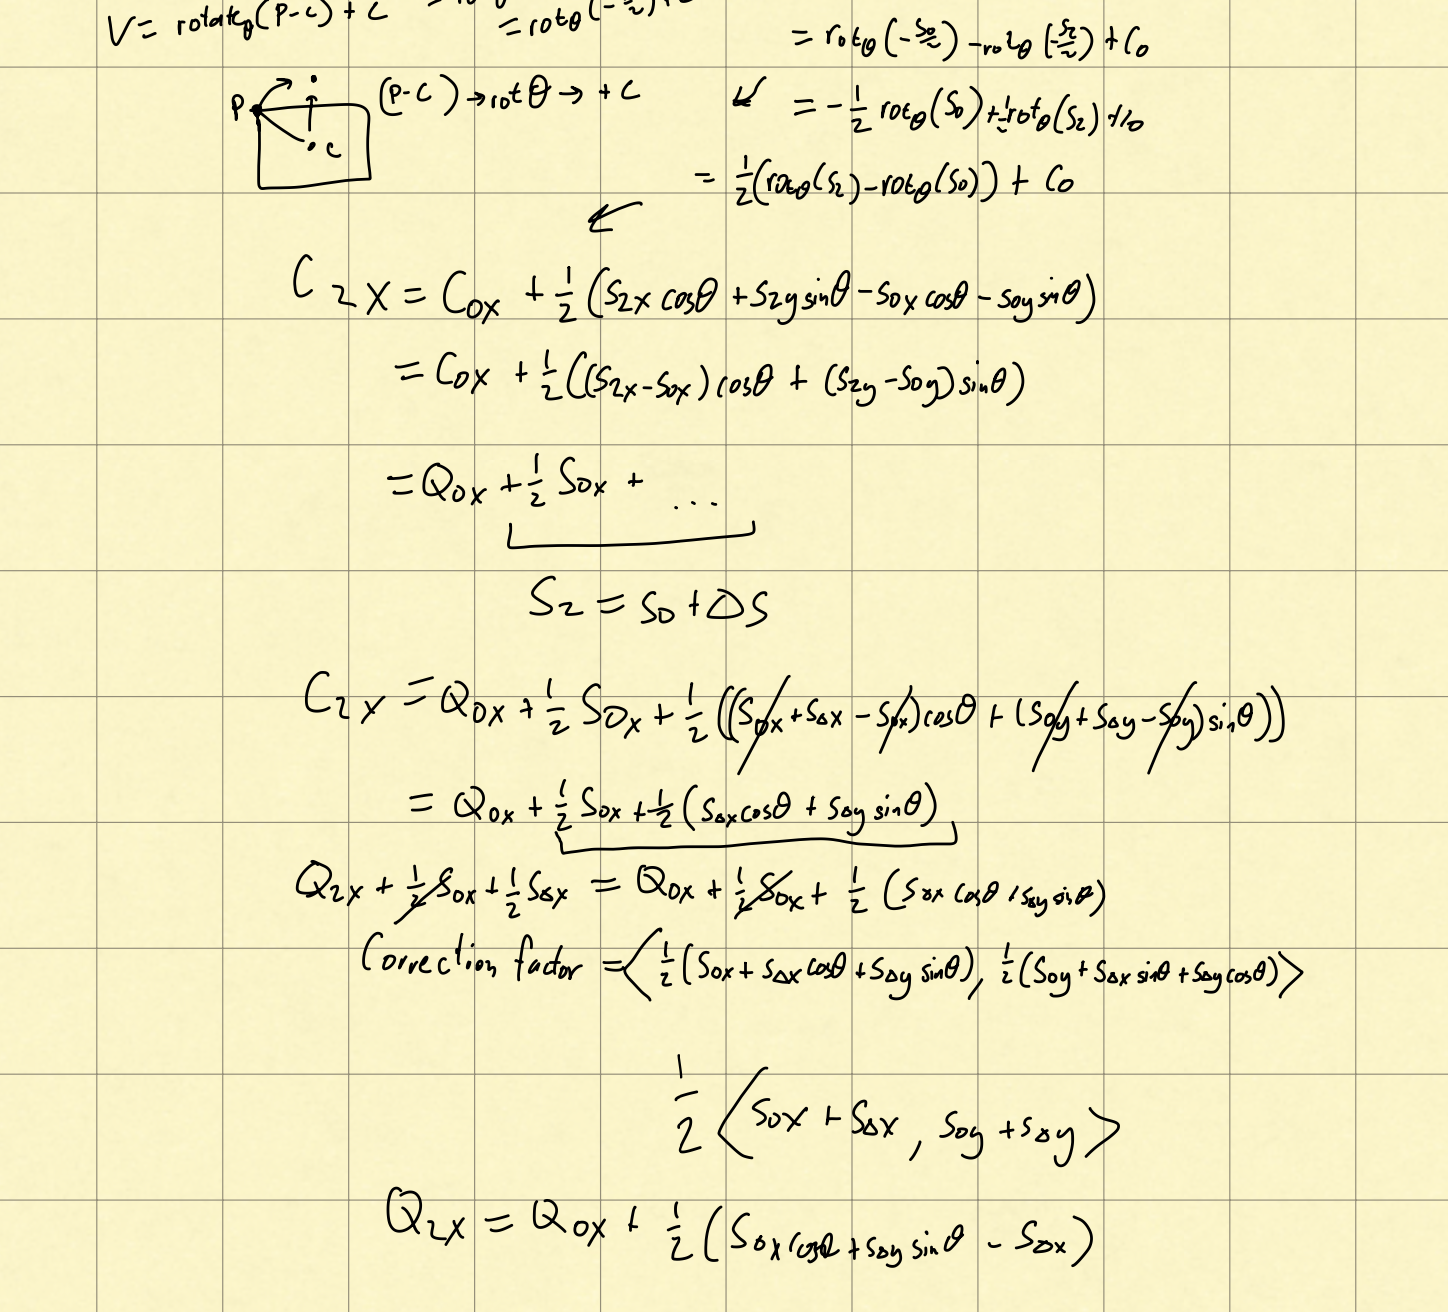
Before adding rotations, we kept the opposite edge (or point) from the scale anchor fixed in space by compensating for changes in width or height by translating the X and Y. Now with rotation, that's insufficient. When the box is scaled, its center of rotation changes even if its (x, y) position (its top-left corner, before rotating) remains the same. However, to keep the opposing edge fixed, we need to keep the box's apparent origin fixed, accounting for where its center was at the start of the scaling operation.
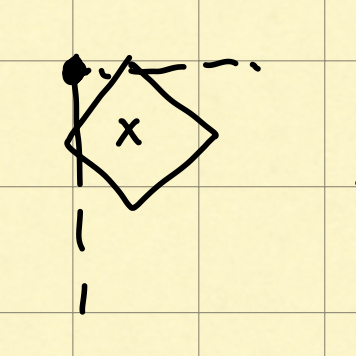
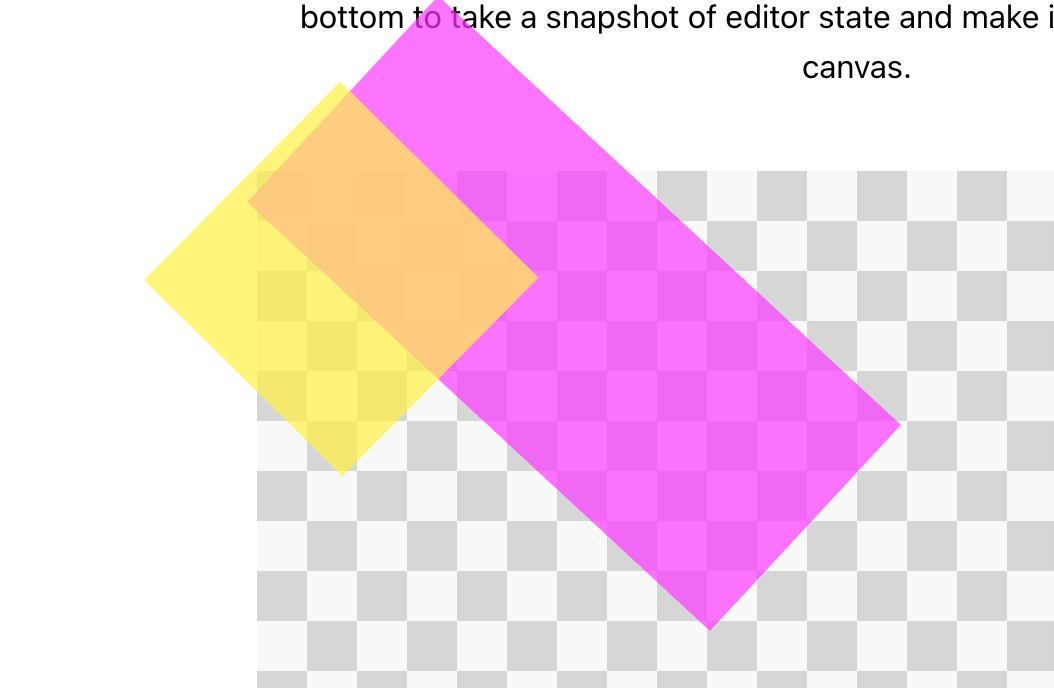
1st: Desired scaling behavior. 2nd: A square at the origin gets rotated about its center such that the top-left corner of its bounding box is above the origin. 3rd: As width increases, the center moves rightwards (+X), causing an apparent translation.
I spent a while trying to derive how to calculate the delta X and Y directly from the delta width and height (given a fixed rotation), but found that you need the original X and Y to find the top-left point of its bounding box.
To address this I did two things:
- Store each object's position as a vector with two halves: a set of "committed" values for X, Y, width, height, and rotation, and a set of "delta" values for each of those. When the user finished scaling or rotating the object, the deltas would get combined into the committed values. This way, I could ensure that transforms would be correct relative to the original position.
- I calculated the
dXanddYby applying the simple algorithm for unrotated boxes to get a rotation in "box space", rotating it about its new center, finding the new bounding box, and then finding the delta needed to get the top-left of the bounding box back to the top-left of the object's bounding box before we started scaling.
Other Learnings
Enough with the shapes. Here are a handful of other things I encountered while building out this prototype:
- Use
element.setPointerCapture(event.pointerId)in thepointerDownhandler to ensure that all subsequent pointer events get sent to a certain element (even if the pointer leaves the element's bounds). This allows you to continue drawing even if the pointer leaves the canvas, or to keep dragging resize handles even if the pointer doesn't stay 1:1 on top of the handle element. When the pointer is captured, it can still fireonPointerLeaveevents if it's no longer over the element. - To prevent extra button latency on mobile, set the CSS property
touch-actiontomanipulation(or an even more restrictive value). This prevents the double-tap to zoom behavior in mobile browsers, which means they can fire touch events without waiting to see if it's a double tap. Avoid hover states on mobile as well: elements with hover states can eat touch actions going into their hover state. There's a media query for this:@media (hover: hover). - You can detect light mode/dark mode with the media query
@media (prefers-color-scheme: light) - When users do long touches on the screen (such as when drawing on the canvas or doing a drag), mobile browsers may interpret that as a select and try to select the nearest text. To prevent this, use the CSS property "
user-select: none" and the prefixed "-webkit-user-select: none" (WebkitUserSelectin JS). Be careful though, this prevents users from selecting whatever text this property is applied to, which could make it hard for them to copy/paste or look up some text that they ought to be able to. I'm still tweaking my approach to this, but for now, I apply this property as high up in the DOM as possible when the user is drawing, and then remove it when they stop. I also marked the control buttons as non-selectable at all times. This sorta works, but it still selects text way down the page sometimes when I'm drawing on my iPad. - To implement editor history for the drawable canvas, I store an array containing the previous contents of the canvas. Originally, I tried using
canvasCtx.getImageData()and storing the resulting array because it's the most native way to get and put image data to the canvas. However, this array is not compressed, and my canvas data is readily compressible since the brushes that users use are pretty wide and create large patches of the same color (which the PNG format should be able to exploit). I switched fromcanvasCtx.getImageData()tocanvasElem.toDataUrl()which returns the contents of the canvas as a base64 encoded PNG. This saved a lot of space and allowed me to increase the number of saved history states to 100. - Safari doesn't support blurs in canvas. Most other browsers do, but also all browsers on iOS are Safari/Webkit under the hood (at least for now), so iOS users are out of luck for blurs. I implemented a simulated blur using multiple strokes roughly scaled to match a Gaussian function, but I haven't tuned it correctly yet.
- I have an issue when drawing on my iPad where there's a minimum delay between strokes. It will straight up drop every other stroke if I go too fast. I'm unsure if this is a browser issue that limits the maximum speed I can detect touches (I doubt it because it feels like I can tap buttons faster), or if my rendering code is too slow on each
pointerUpevent and blocking the UI thread (I did some profiling and tried disabling costly operations like pushing entries to the back stack, but it didn't seem to make a difference). - The checkerboard pattern backgrounds for the various canvases and editors are pure CSS. They're a repeating CSS conical gradient with some transparency. I figured this would be most efficient way to do it since the browser can quickly generate the texture using whatever native GPU magic it has and then repeat it to match the screen size. The magic incantation is this:
.checker {
  background-image: conic-gradient(
    #ddd3 0 0.25turn,
    #3333 0.25turn 0.5turn,
    #ddd3 0.5turn 0.75turn,
    #3333 0.75turn 1turn
  );
  background-size: 50px 50px;
}
Next Steps
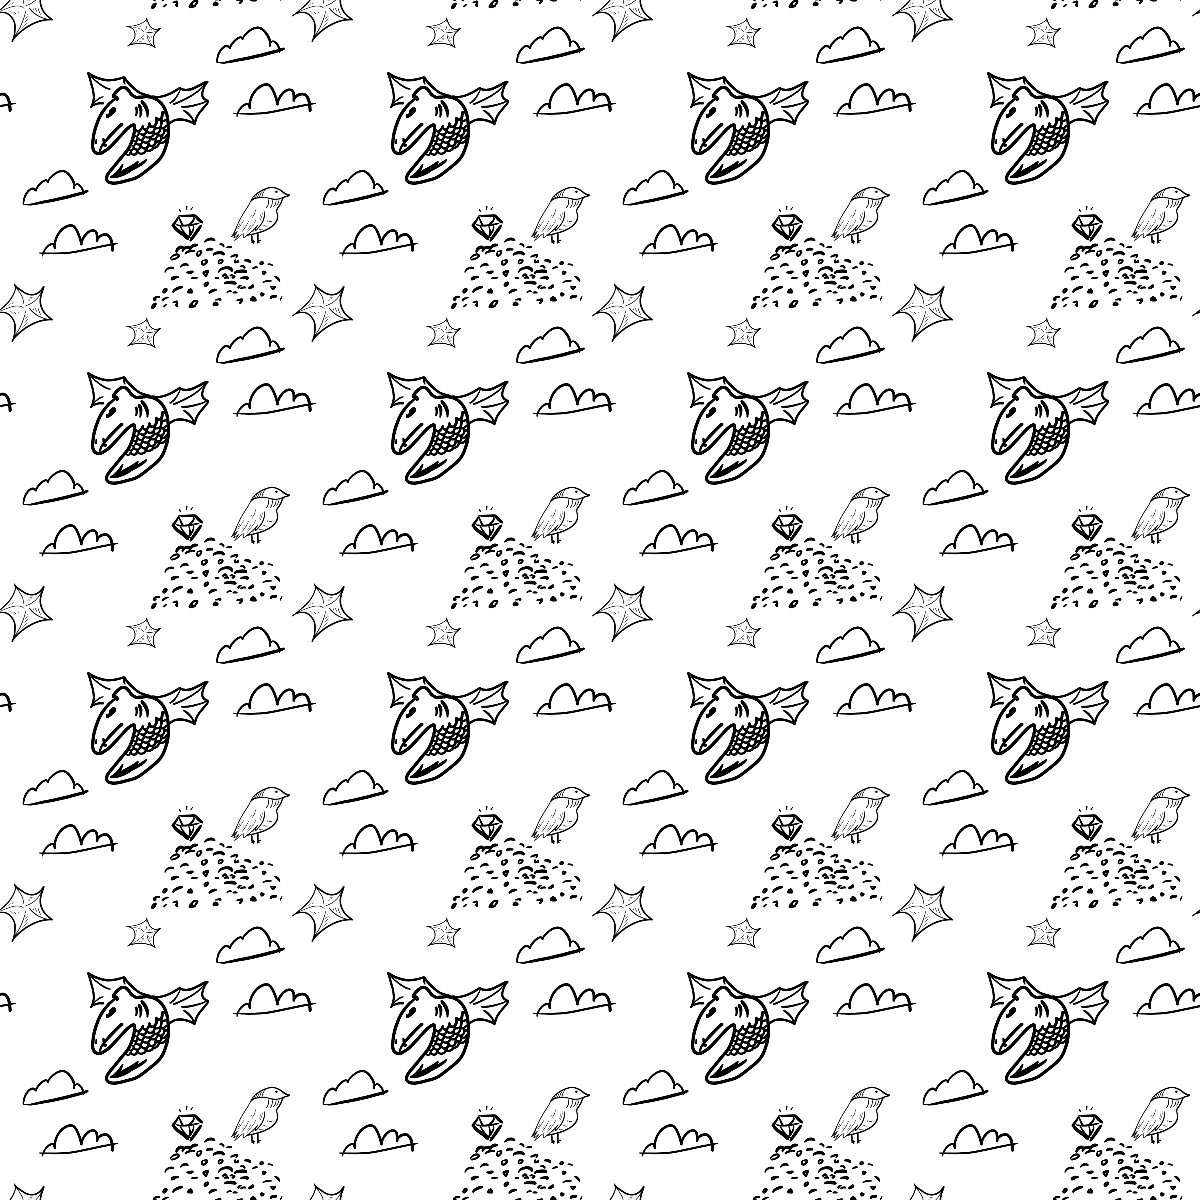
To be honest, I'm not sure what I'll do next with this project. It's working well enough for doodling patterns with the drawable canvas, and the ability to pan around the infinite canvas while doodling has changed the way I approach pattern making. Namely, it's letting me play with directly illustrated patterns like "Beasts" and the variations on wires/tubes/pipes instead of just using multi-element patterns built from separately-drawn pieces. The layer editor is still rough and it could use some of the polish I added to the drawable canvas like undo/redo and the ability to pan around the infinite canvas instead of just doing a quadrant swap.
I've debated combing the two editors into a web-based drawing/layout tool or maybe reusing the drawable canvas for some browser games. It could also be a fun opportunity to learn WebGL or use WASM to further optimize some drawing and compositing operations. I've also seen some cool patterns that never repeat, and I think it could be fun to try to make a pattern generator that's compatible with them (e.g. the Penrose Tiling), but I need a break from geometry for a while.
If you end up making something with the tool or have feedback on it, let me know!